As promised, I present for your reading pleasure a post on taking what I learned from the sphere project and applying it to figure painting in the life room. Remember all that nerve-wrecking tiling on the sphere? Life room is where the old Dutch method separates the wheat from the chaff.
You probably remember that every morning we draw or paint from a live model. At the beginning of a “long pose” (these can last for two or even six weeks) Juliette and the advanced students arrive early that first Monday morning to collaborate with the model on setting a classic but natural pose which the model can easily resume each day. Each morning the life room session is three hours consisting of seven 20-minute working periods, six 5-minute breaks and one 15-minute intermission-style break in the middle. So even though the session is three hours in name, it’s really roughly 2.3 hours of “on” time. The number one law governing the universe of life room is that there will never be enough time — and you can only work when the model is posing.
I lay this out for you so we can analyze the rules of engagement together. Life room is a game of strategy. A few wild cards to note: On Mondays, Wednesdays and Fridays our teachers are there to give technical critiques and discuss strategies with each of us. On Tuesdays and Thursdays we spend the first 20 minutes of life room doing four 5-minute gesture drawings in which the model takes a different dramatic pose every five minutes. These are handy warm up exercises for painting students (in years 2 through 4) to practice drawing and for all students (including first year drawing students) to focus on the importance of capturing the gesture, the overall feel and movement of each pose.
The object of the game is to manage time effectively so that you hit that sweet spot between progress and quality. You don’t want to go so fast that you sacrifice technique. But you don’t want to go so slow that you get stuck in a technique vortex of unfinished work (“Oh my gosh, how is it already noon and I’ve only worked on one thing?!” she wailed in horror.) The duration of poses changes each time so one cannot merely find a pace that works well once and settle into a comfortable habit. Time management for a two week pose should be very different from that of a six week pose, though I promise at the end of each you are scrambling. We must always be thinking and course correcting.
So, six weeks into year two, have I hacked life room yet? No, she admitted sheepishly. But I’m on the case and every week I get closer. Here’s what I’ve learned:
Light dinner the night before. Sleep by 10:30. Get up early enough so that life room is not something you try to tackle within your first waking hours, that leads to disaster. Eat a big healthy breakfast. Don’t over-caffeinate. Breakfast tea in a thermos will do the trick. Maybe another cuppa black tea at lunch on rainy days, or on Wednesdays when you’ve had sculpture class the night before, but that’s the max on caffeine otherwise you won’t sleep at bedtime. Don’t overdress. The room is super warm to keep the nude model comfortable and it is the only time all of our warm bodies are in the same smallish room so make sure you can layer down in any weather.
Hydrate. Drink a big glass of water first thing and keep a water bottle under your easel, remember the room is warm and the mood is tense. Be at the studio at least half an hour early, an hour if you’re mixing paint. Other people take breaks, you don’t. Three hours is 180 minutes but the model is only posing for 140 minutes. So what are you doing with the “free” forty? Painting the background, the drapery, cleaning your brushes, mixing more paint, drinking from and refilling your water bottle, organizing supplies, asking a teacher for more information. Use the bathroom during the 15-minute break even if you don’t feel the need — it’s the only sensible time and you should be drinking enough water to necessitate it. Hustle, hustle, hustle, so that when the model is posing you can give yourself the freedom to be calm and relaxed and find your rhythm. You’ve anticipated all needs and removed all barriers. Breathe and calm down. Discipline yourself into staying methodical. Enjoy — capture the gesture, push your technique and be super stoked when it goes well because it will. Because you are so, so close to cracking the code of life room.
We started the year with lots of gesture drawings, “short poses” (20 minutes to 3 hours), and poster studies. A few weeks back we started our first longer poses. We had completed the sphere project and were let loose to make our first strides toward form painting on the figure.
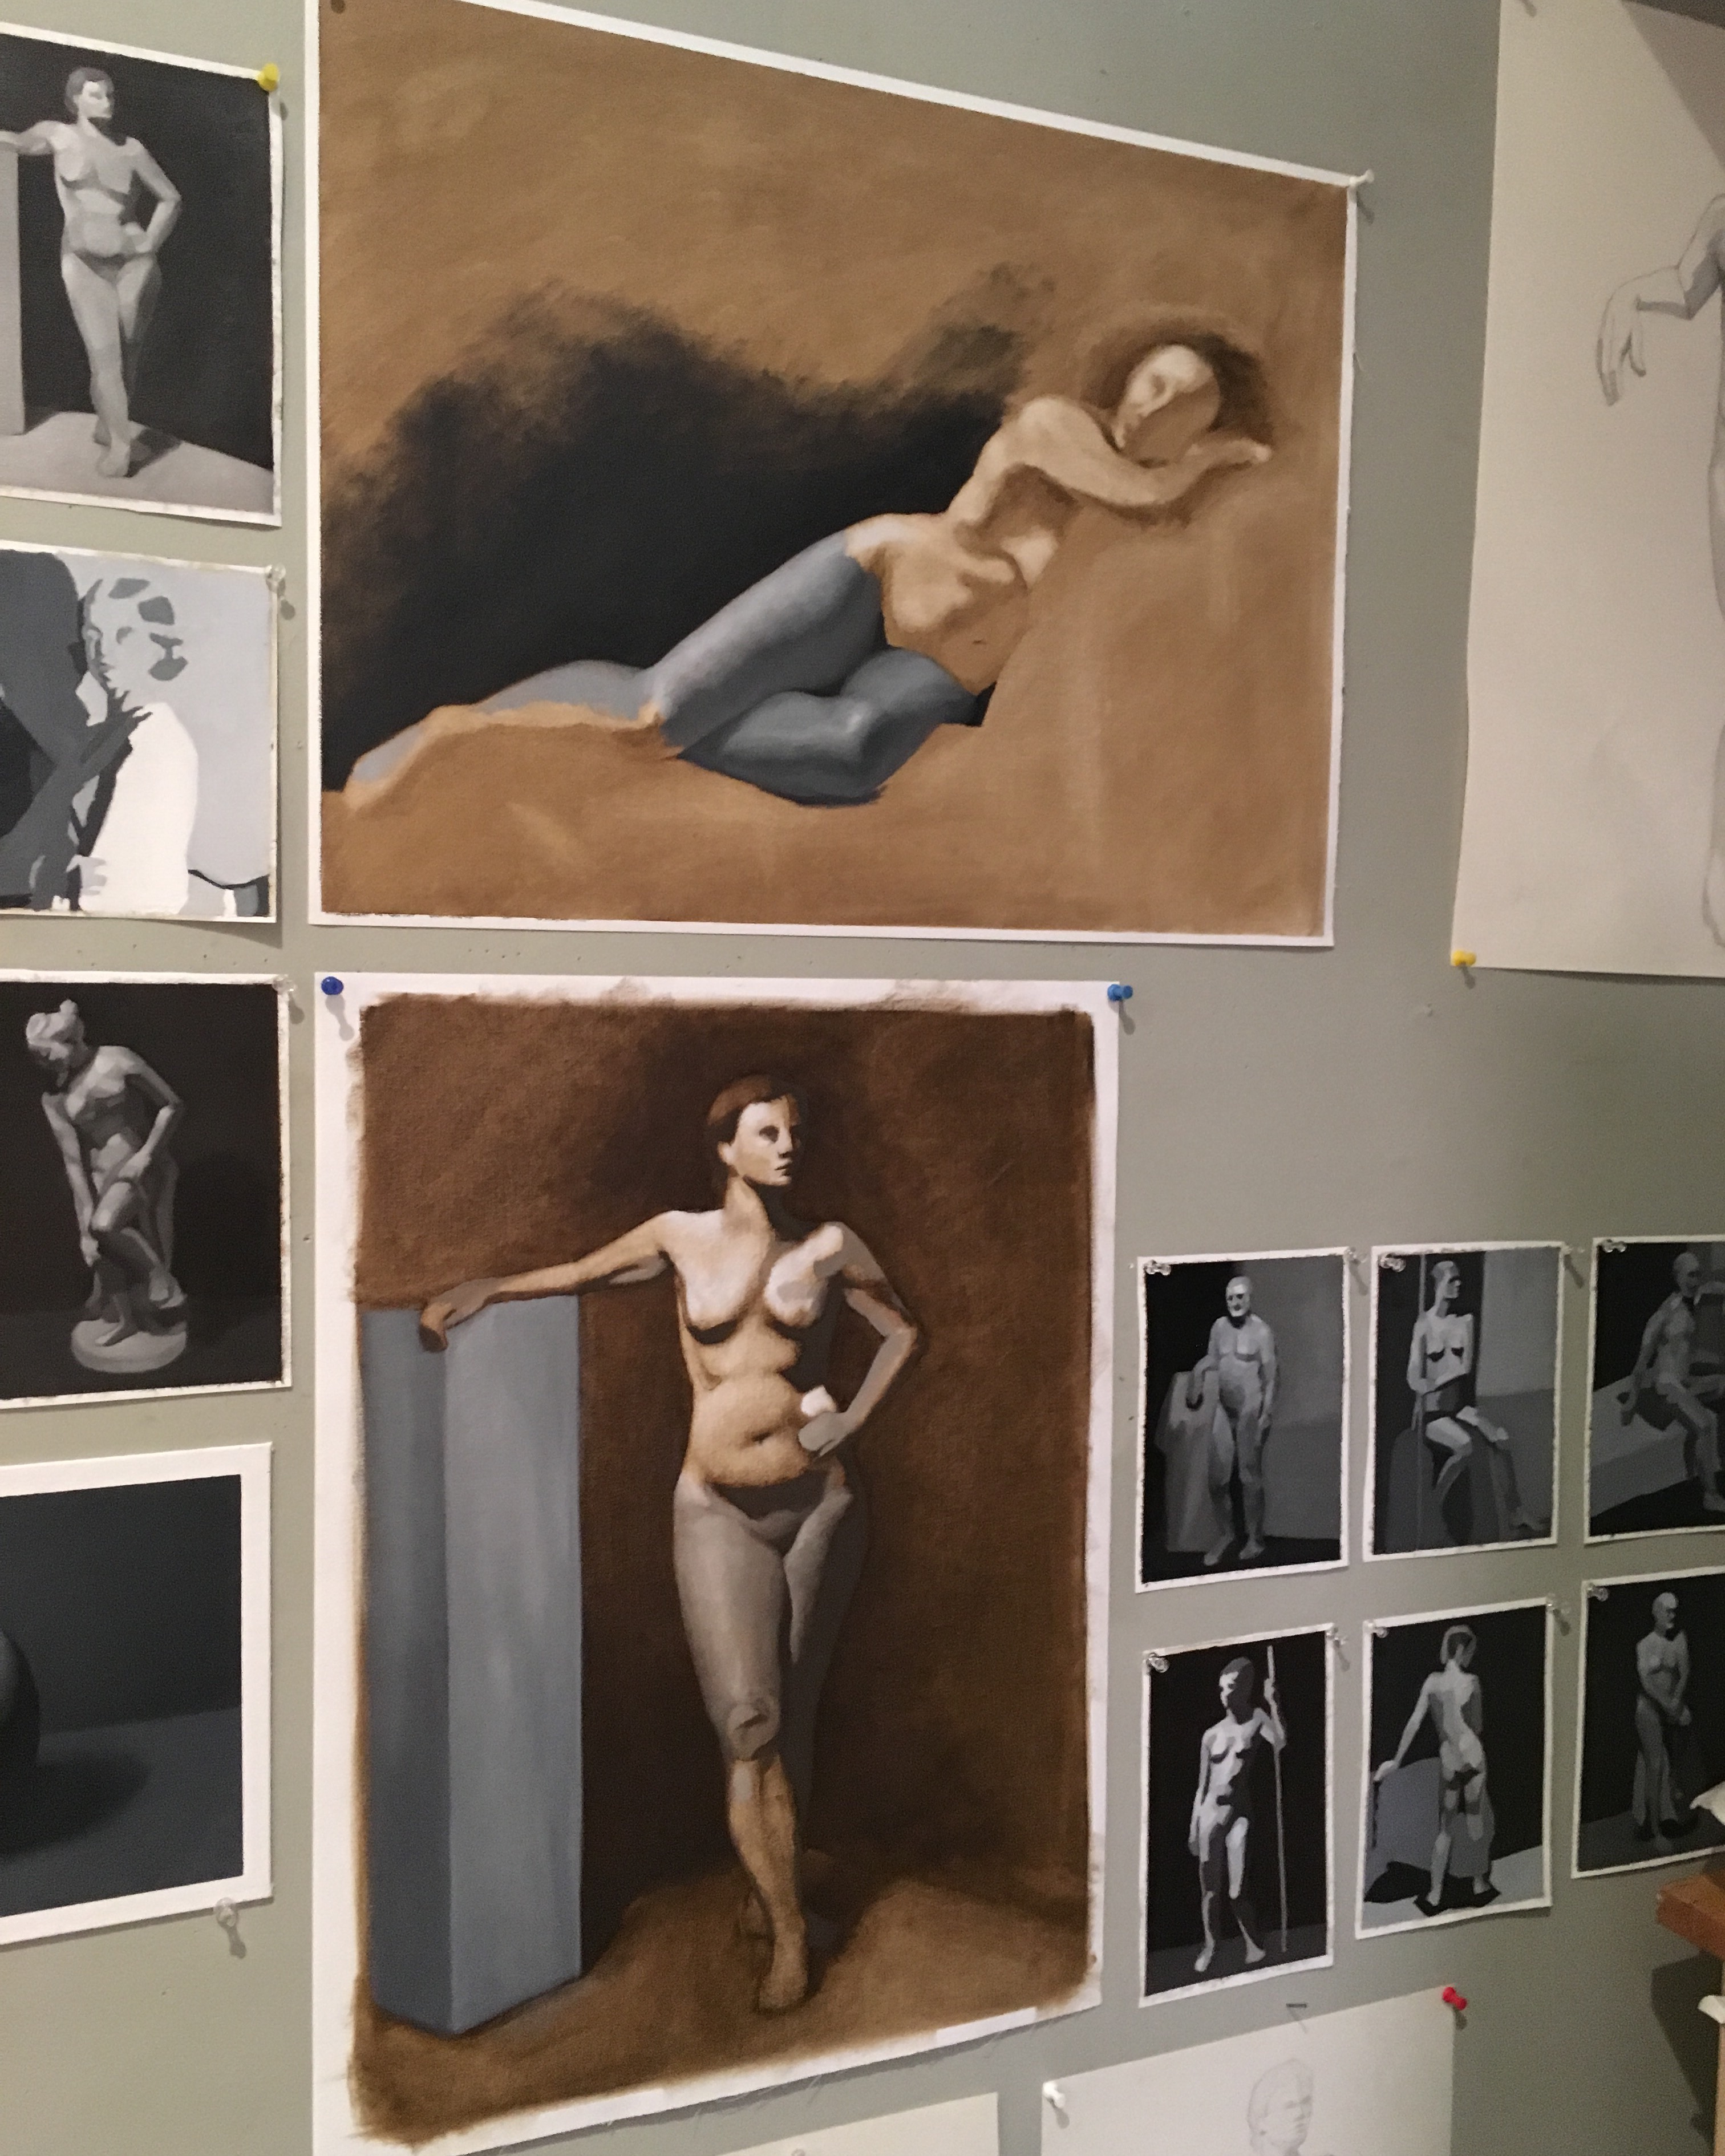
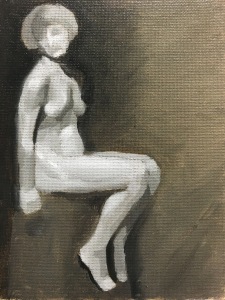
The first attempts were one-week poses so the process was truncated quite a bit, but it was great for practicing getting up on my feet. Here are the first two starts on my studio wall. The bottom one came first first and the top was the next. You can see I started with the thighs both times because they are larger, rounder forms (like the sphere) that gave me an uncomplicated place to begin.
Here’s a quick run-through of the process on the second attempt. With only five days, I didn’t make a poster study. I drew the first day and transferred the drawing to canvas that night. Then the second day I did the wipeout, leaving me three days to turn form on the thighs.
Drawing:
Wipeout (explained in more detail later):
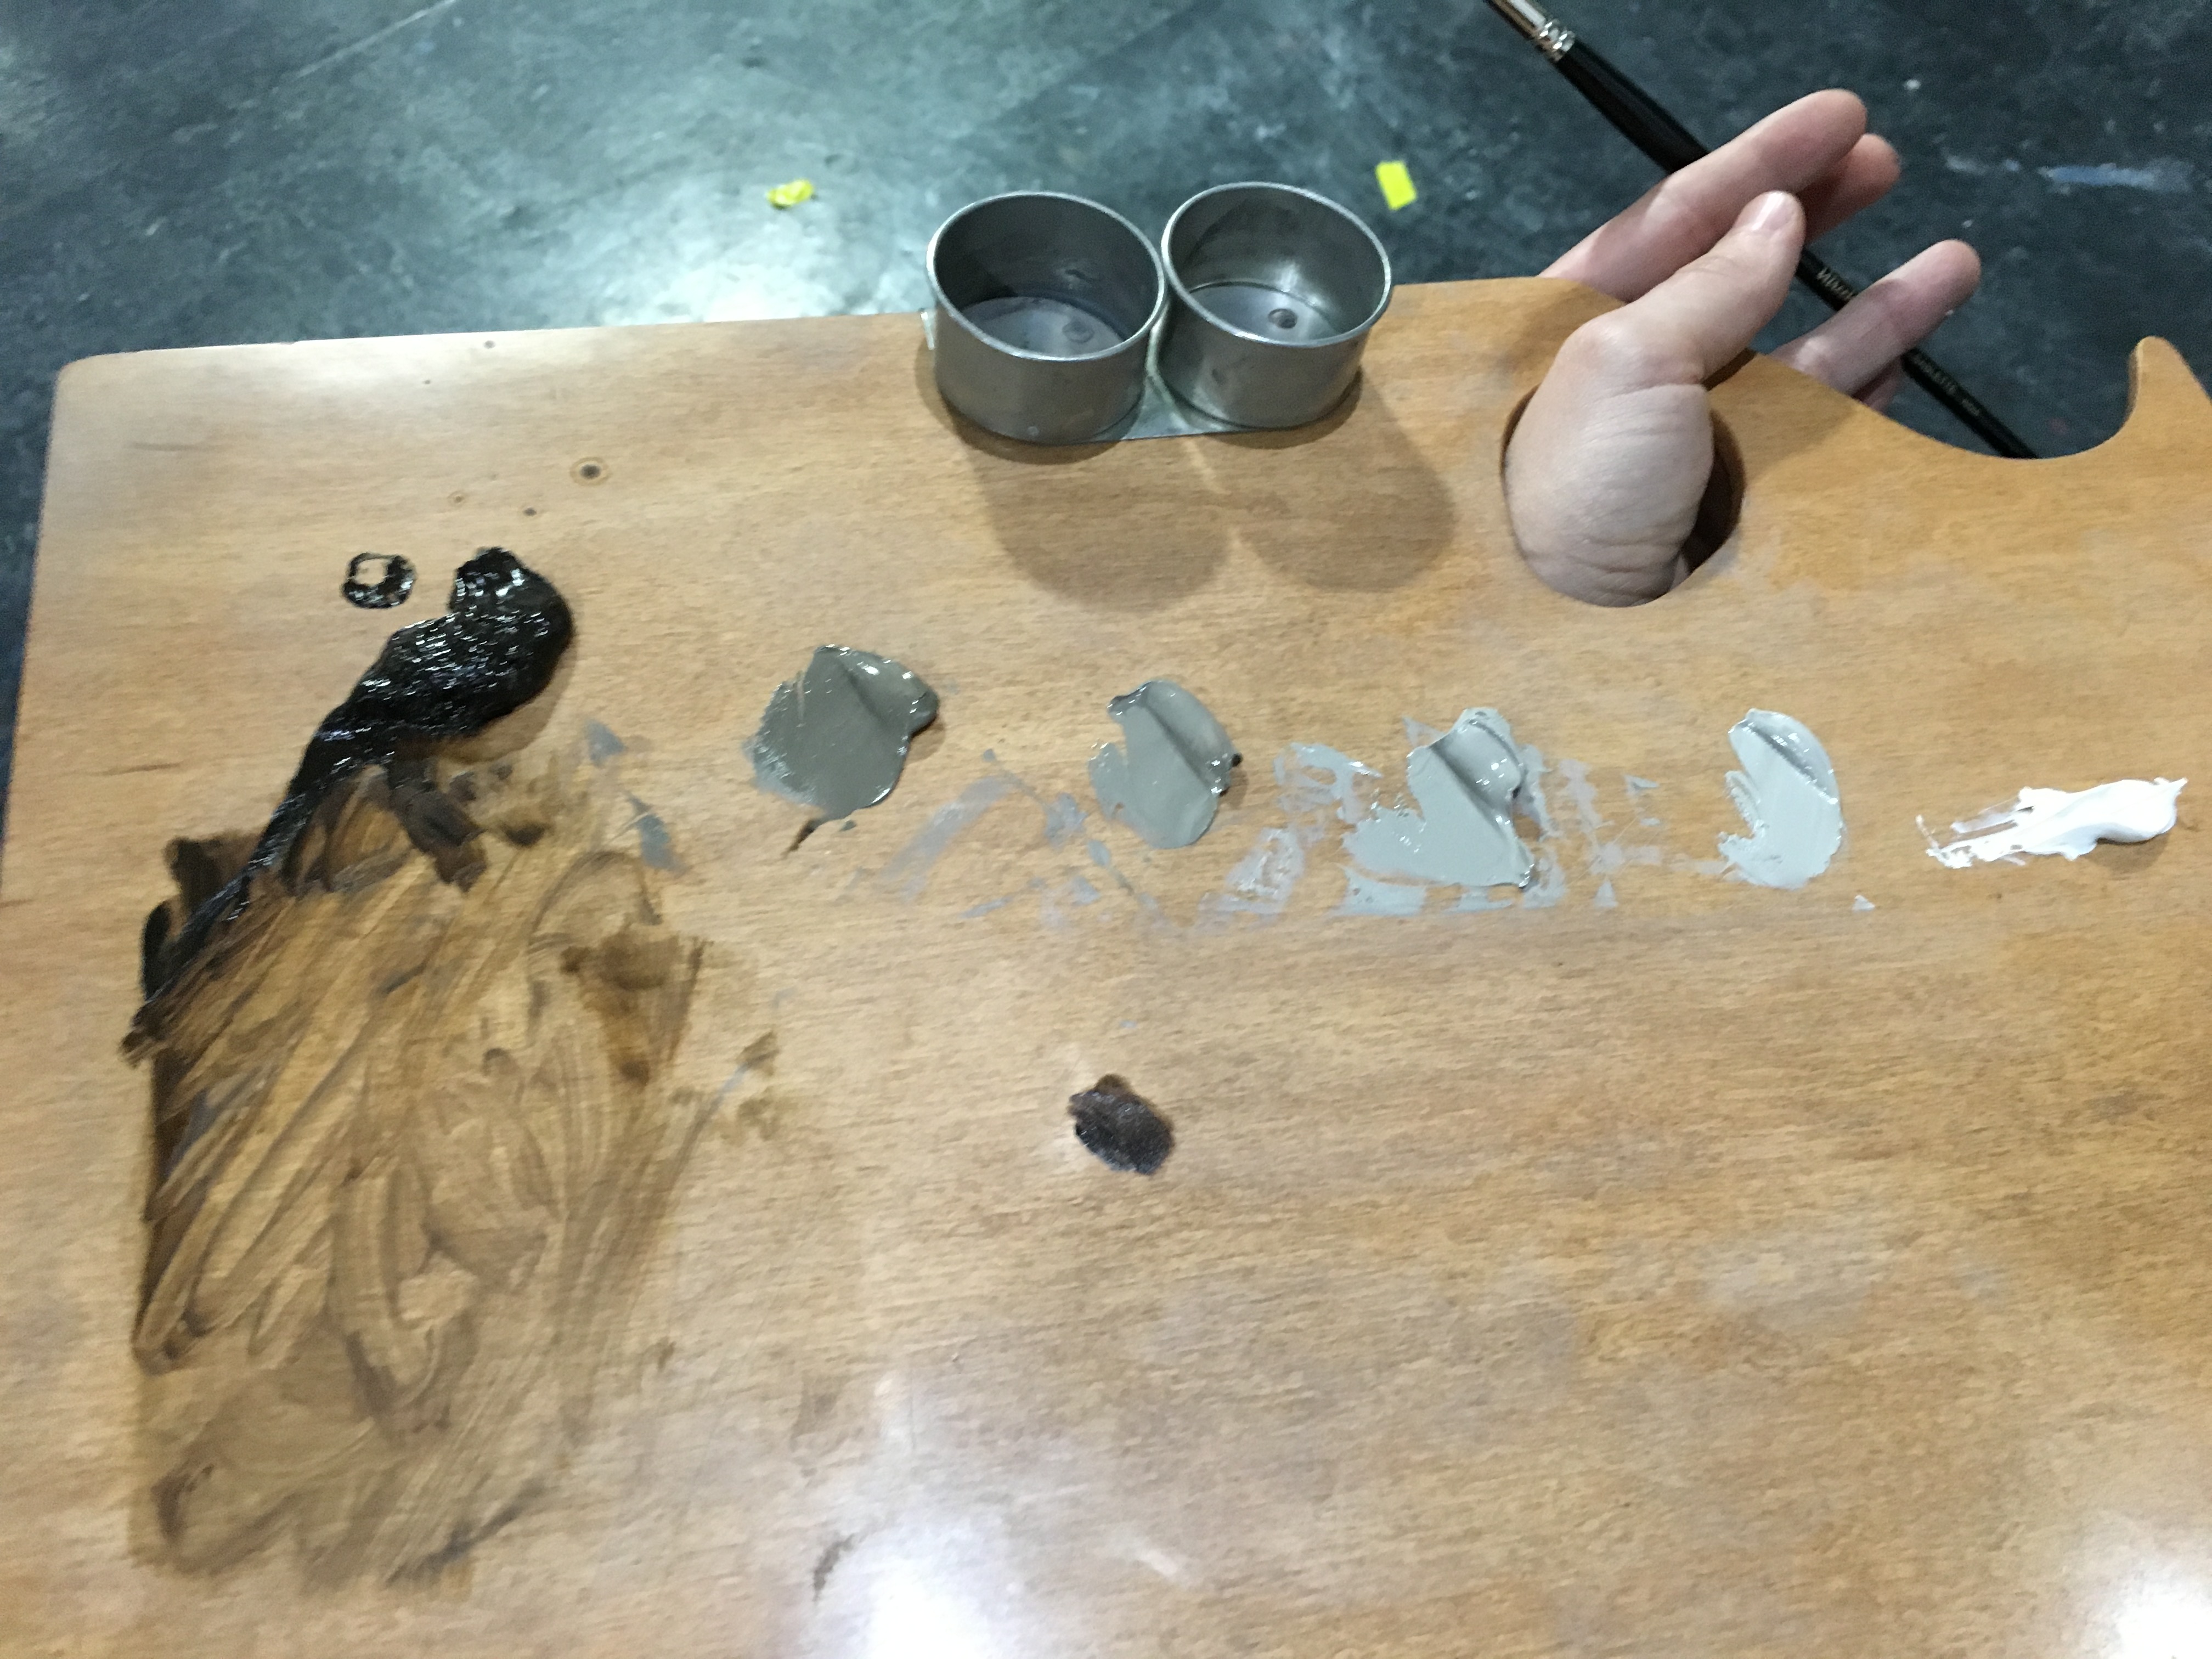
Painting:
One interesting thing about this palate is that it looks blue but it’s just ivory black and titanium white. Ivory black gets really blue (cool) as you add white to it. This still works for grisaille and will help you with value, but it can effect the feel of the work. You’ll see in the next series how I changed the palate by mixing raw umber (brown) with burnt sienna (dark orange) and a little black to create a base and then lighten that base with white for my value piles.
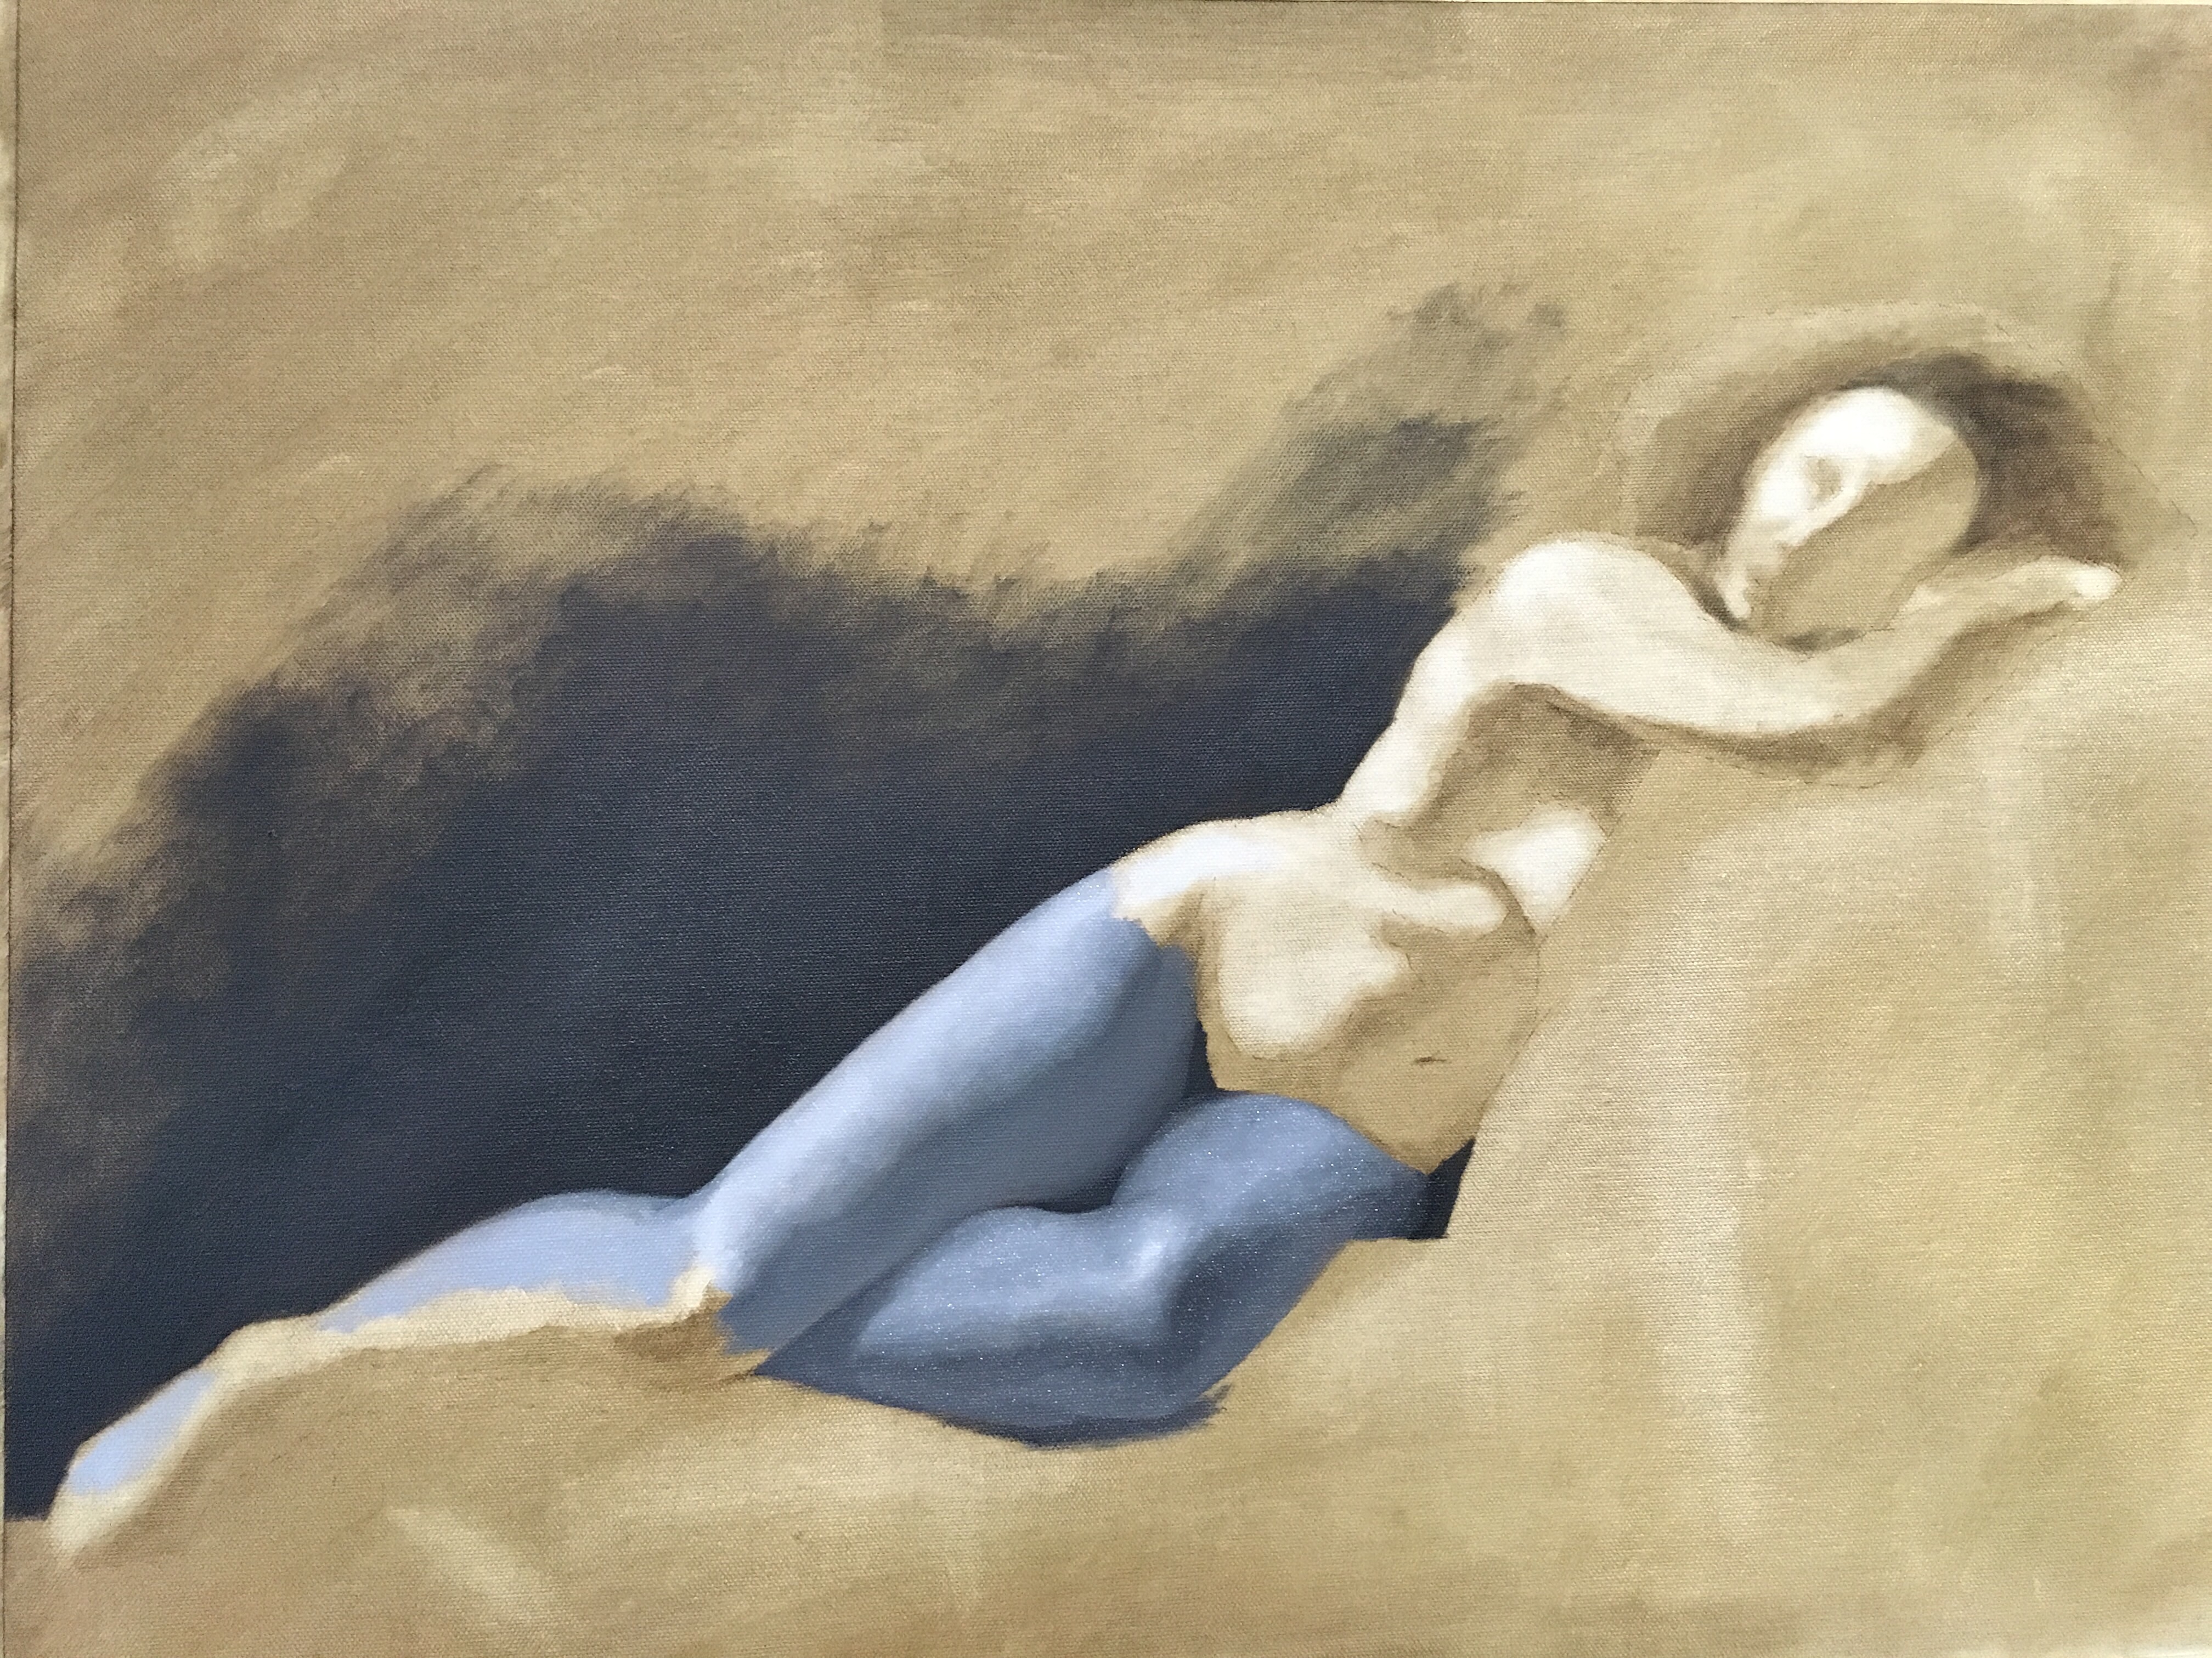
Finally, the most recent pose we finished on Friday was a two-week pose. Thanks to the extra time I got to stretch out a bit more and go through each step of the process with more care. I started on day one with a poster study to plan the overall value and composition. I decide here, for example, that the forearm is darker than the hip next to it and both of those are darker than the face.
Then I spent the next morning (day two) drawing the pose in graphite. To me that’s really quick for a block-in drawing. I prefer three sessions. However, I am able to fix proportional errors later in the wipeout and painting phases. Below you can see the drawing on left. Notice how the foot seems large. You’ll see I was able to correct that later. I transferred the drawing to canvas by tracing it with graphite paper. Once the graphite was on the canvas, I inked the drawing so I wouldn’t lose it as I began to place paint. Then I took a rag (a scrap of old tee-shirt) and wiped the paint back. In the wipeout phase we’re able to model the figure a little bit by leaving paint thick in the shadows and adjusting the amount we wipe away in the midtone areas. The top right square shows me covering the inked drawing with paint. The bottom right is me starting the wipeout.
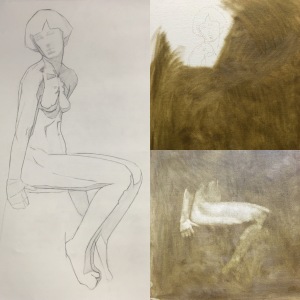
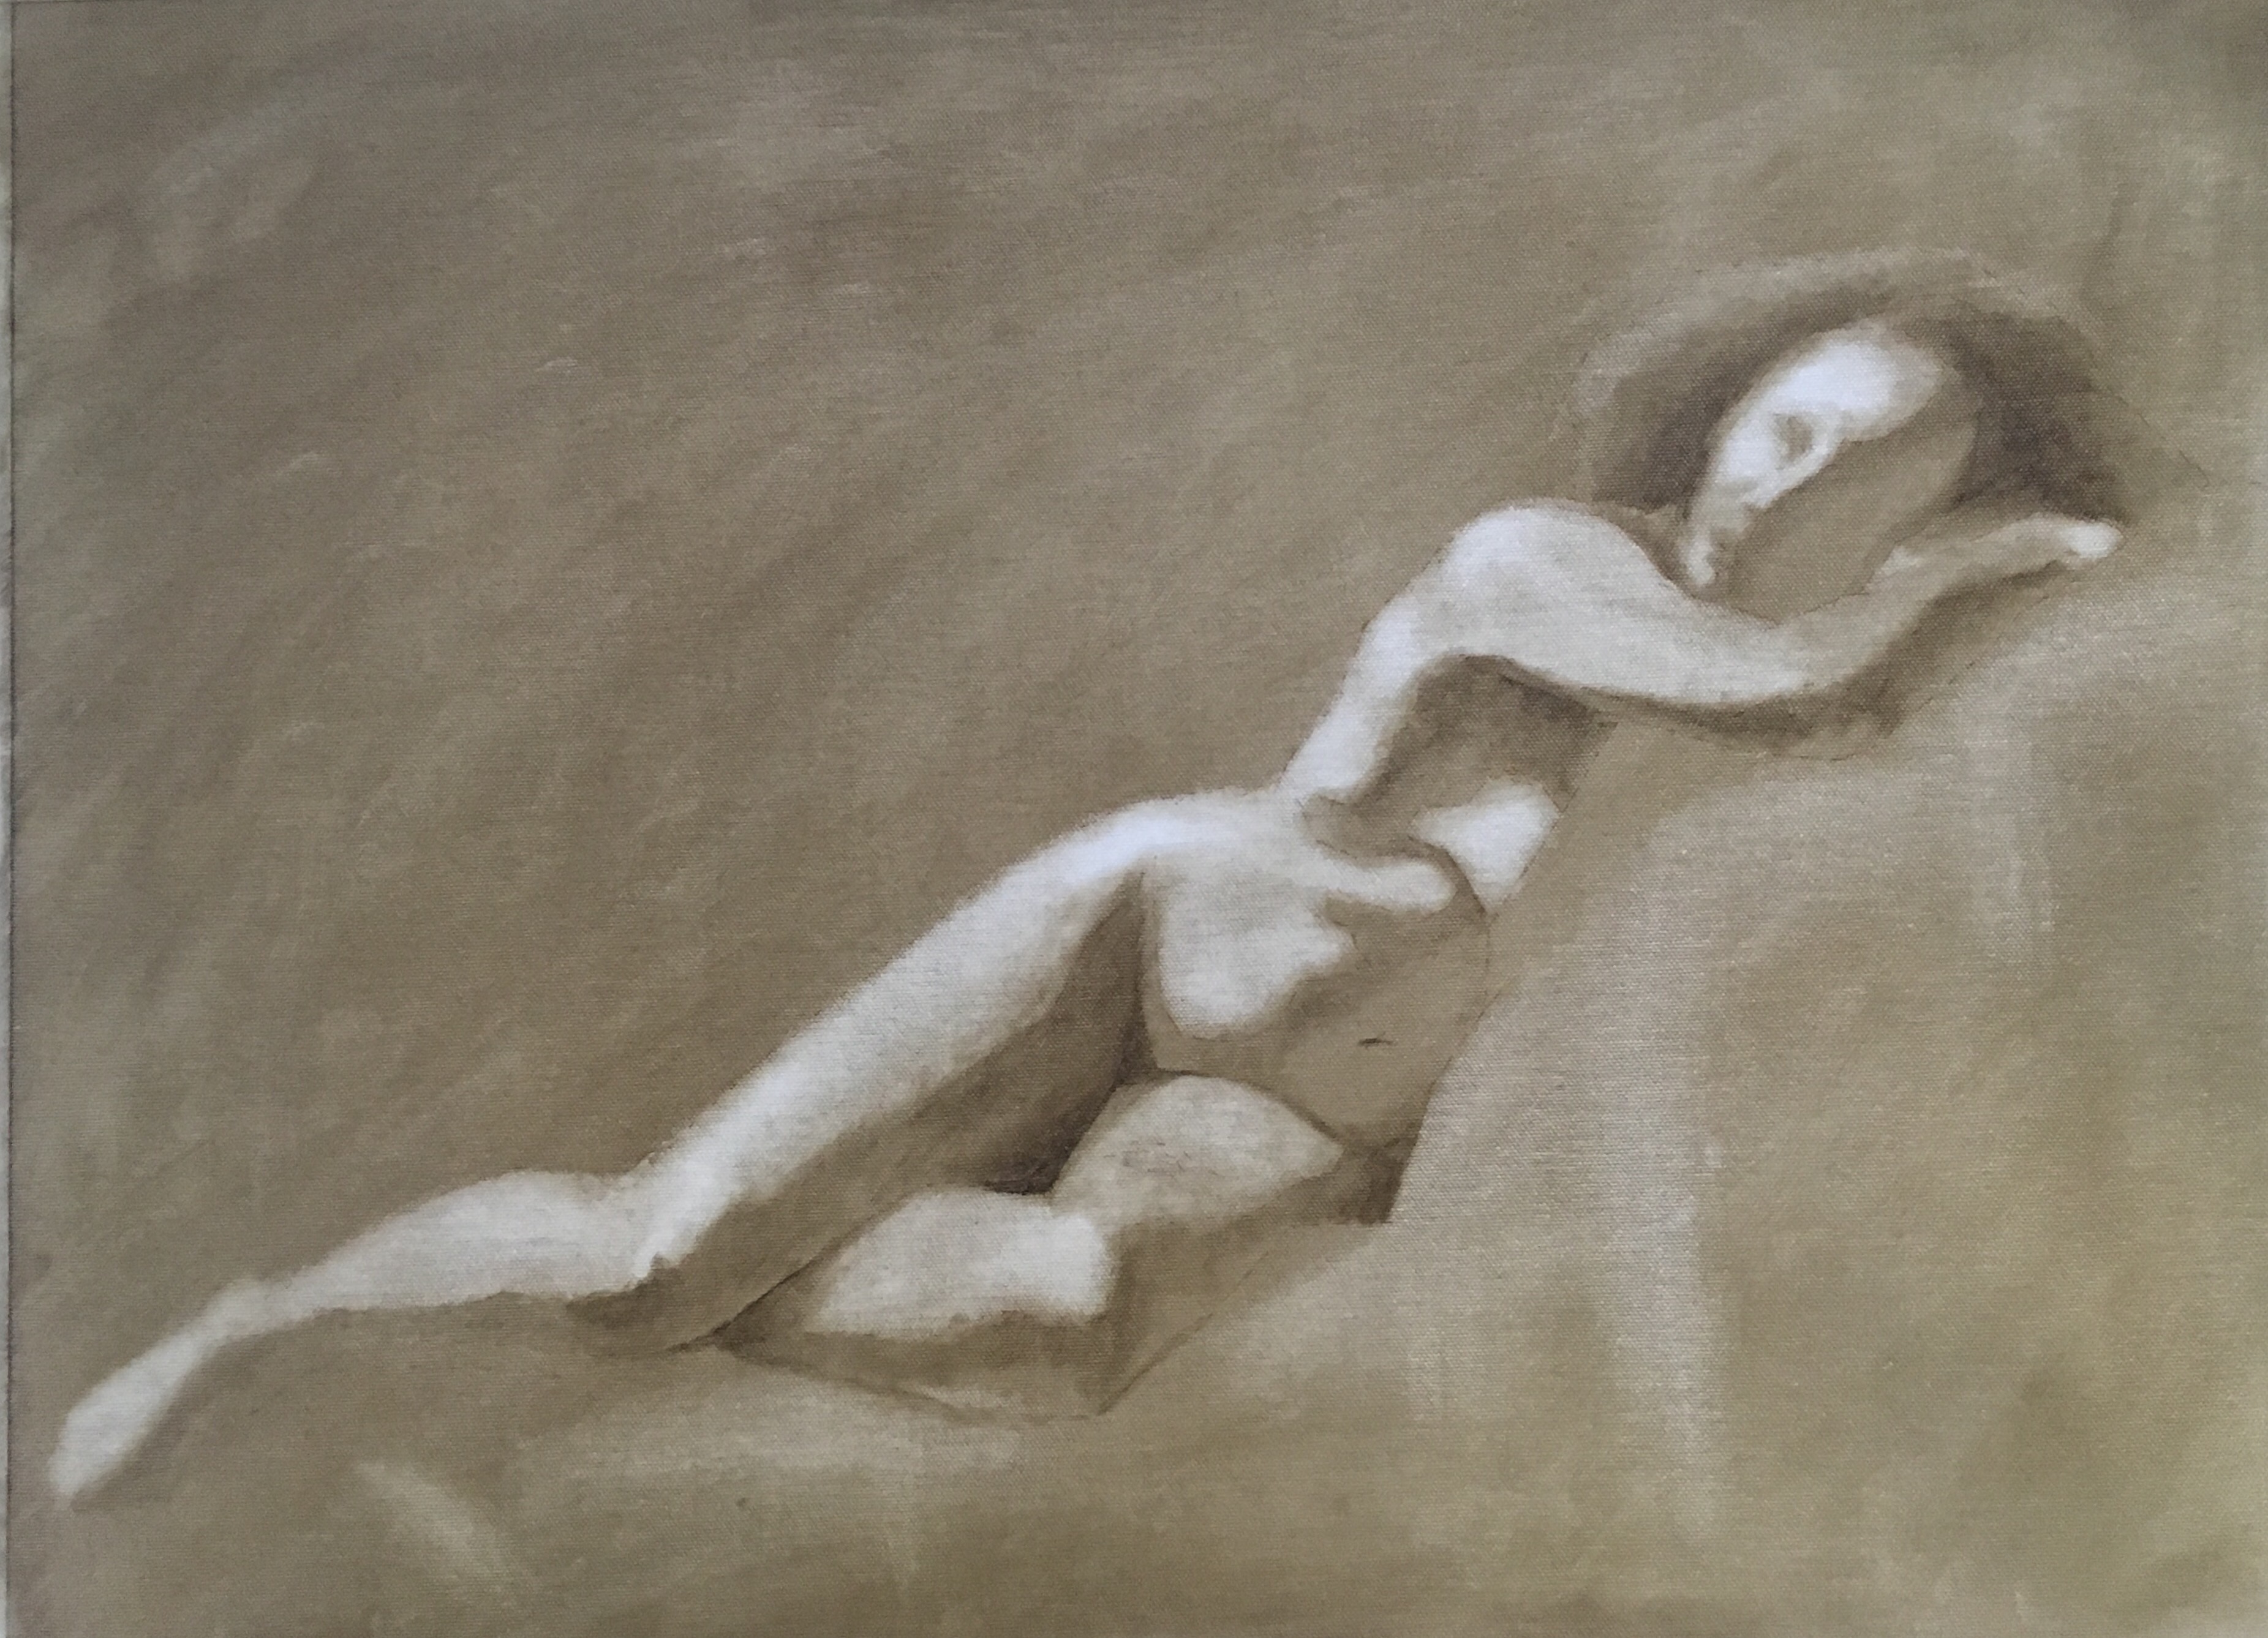
Here’s the finished wipeout underpainting completed on day 3. The possibilities of wipeout paintings are really cool. They look almost like an end in themselves.

And from day 4 through 10, I applied paint onto the wipeout one tile at a time, turning form. Here’s where I ended up on Friday. Tons of learning came from this one, it felt like such a milestone. Lots of corners turned and secrets unlocked.

Tomorrow we begin a three-week pose, so it seems we’re quickly ramping up for a properly long pose of four to six weeks. Shortly after the next pose, I’m taking a portrait block-in workshop from the wonderful Tony Ryder. He’s a major teacher in this art movement who has an atelier in Santa Fe. I would recommend his book on figure drawing to anyone of any skill level interested in learning to draw what you see. Conveniently, Tony is coming to teach at Gage Academy — the art building where my atelier also resides — the first week of December. I’m very excited he’s coming and can’t wait to do some focused training on portraits.
(Featured image: The Painter’s Studio: A Real Allegory of a Seven Year Phase in my Artistic (and Moral) Life, Gustave Courbet, 1855. Musée d’Orsay, Paris).

So very interesting. I can tell you are progressing nicely. So proud of you Babe. Xoxo
LikeLike